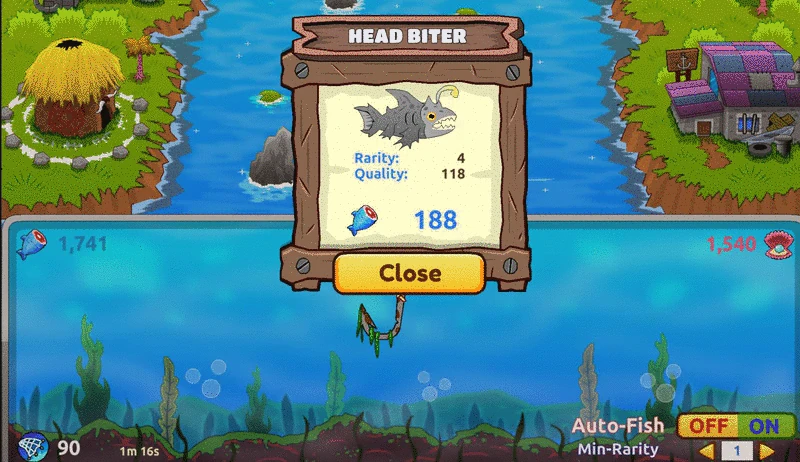
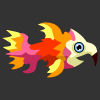
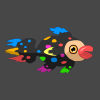
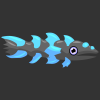
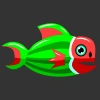
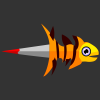
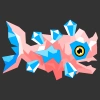
Fishing is an area where the player can obtain Fish Meat and Pearls/Clams. It is unlocked at level 30. In order to fish, the player must select an area in the dock to start fishing from; this has no effect on the results of the cast. When an area on the dock has been selected, fish will randomly appear according to the rarity of fish the player is able to obtain. At any time the player may cast for a chance to catch any of the fish appearing on the screen.
The one and only use for Fish Meat is in the Sacrificial Hut explained later below, which ultimately fuels the growth of Soul Orbs.
Maximum Energy: 100 ; Buying Energy will go above the maximum, however the countdown timer will not start counting down until energy is below 100.
Countdown Timer: 30 minutes; This timer counts down to the next time the player gets Energy.
Energy given per countdown: 1
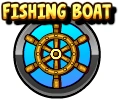
Auto Fishing: Automatically catches fish, provided that all fish in the pool have a minimum rarity equal to or above the 'Min-rarity' setting. Without the purchase of a boat, this is set to 1. Auto-fishing will continue even while outside the Fishing window, and the main battle screen will have an icon showing your fishing avatar and the fish you are catching.
Fish spawning is determined by a normal distribution with the following characteristics:
Mean of
Variance of
This distribution is cut off at
Then it is normalized so that the sum of the probabilities equals 100%
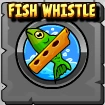
Max Rarity is found by adding your Rod level x 3 + 1 + Fishing Orb Stars (+ 3 if Whistle is active).
Note that having a Whistle active alsoadds 0.5 toTackle Level (not currently mentioned in-game) in addition to increasing Max Rarity by 3.
Recommended Fishing Strategy
Due to this complicated relationship, it may not be straightforward which fishing gear is best to upgrade. To maximize the amount of meat you receive for sacrifices, a good set of general guidelines to follow is this:
If you're manually fishing (i.e., no Boat), wait until 2/3 or 3/4 of the current pool are fish that you want to catch (i.e., near the highest rarities you can spawn).
Keep Rod and Tackle approximately the same level. Which one to upgrade first depends on your situation. The following recommendations are assuming you have the Boat and select the optimal Min Rarity for your gear—or at least try your best to not catch fish of low rarity.
No Fishing Orb = Rod always first (at least until a rod level way higher than you would conceivably reach without having Fish Orb)
3 StarFish Orb and Don't Use Whistle = Tackle first after Rod 4
3 StarFish Orb and Use Whistle = Tackle first after Rod 2
Keep Bait and Line around 2 levels below Rod/Tackle. This gap may widen as your gear reaches higher levels. Note that Bait will increase daily income for both Meat and Pearls , whereas Line only increases daily income for Meat but moreso than Bait. So depending on your aims, this could make one more desirable than the other.
Consider saving up for the Boat. You will probably want to prioritize purchasing a certain amount of VIP XP upgrades first. But the Boat is a vital part of maximizing fishing progress, so an event that gives a ton of diamonds might be a good time to start saving up
Whistle is also great for fishing. The cheapest and most efficient strategy for use of the Whistle is to wait until your energy hits max (100 ) and then buy the 1 day Whistle (for 100 diamonds), using up all that energy during the duration of the Whistle. Then wait until energy is maxed again and repeat. Again, use your discretion, as VIP XP and even the boat itself could be a higher priority for you.
Lab
Note: The tables below go to an assumed maximum value based on the current Rod level requirement for the current highest fish Rarity of 48. This is equivalent to a Level 16 Rod. Currently, a maxed Rod (Level 10) with Whistle active and 5 Star Fish Orb could only fish to Rarity 39.
This article or section is incomplete and requires further information. Reason: Needs gear prices updated for highest leveled gear, from changes in v0.83 Also missing additions in v0.94.25
Rods improve the potential rarity of fish you can find.
The rarity of potential Fish improves by 3 each level.
Level
Image
Name
Cost
Fish Rarity improvement rating
1
Branch
-
0
2
Bamboon
5,000
3
3
Glastix
25,000
6
4
Mummybone
100,000
9
5
Pink Tail
250,000
12
6
Lustfinger
781,250
15
7
Rainbowand
1.562M
18
8
Snake Claw
3.125M
21
9
Mecarod
6.25M
24
10
Starfisher
12.5M
27
11
?
?
?
30
12
?
?
?
33
13
?
?
?
36
14
?
?
?
39
15
?
?
?
42
Lines improve the quality of fish you can find.
The quality of Fish improves by 15% each level.
Level
Image
Name
Cost
Fish Quality Boost (%)
1
Iron Chain
-
0
2
Cable
5,000
15
3
Wool
25,000
30
4
Copper Wire
100,000
45
5
Creeper Line
250,000
60
6
Zinc String
781,250
75
7
Toothstring
1.562M
90
8
Fish String
3.125M
105
9
Spider Silk
6.25M
120
10
Atomic Chain
1.953B
135
11
?
?
?
150
12
?
?
?
165
13
?
?
?
180
14
?
?
?
195
15
?
?
?
210
Tackles increase the chance for higher rarity fish.
Level
Image
Name
Cost
Chance of Higher Quality Fish (%)
1
Rusty Hook
-
0
2
Cheap Liege
5,000
?
3
Mohawkook
25,000
?
4
Dragon Sting
100,000
?
5
Poketacker
250,000
?
6
Snake Fang
781,250
?
7
Eolian Hook
1.562M
?
8
Orbit-F
3.125M
?
9
Triton's Trap
6.25M
?
10
Stellar Bulb
1.953B
?
11
?
?
?
?
12
?
?
?
?
13
?
?
?
?
14
?
?
?
?
15
?
?
?
?
Baits reduce the cooldown of fishing energy.
The regeneration improves by 4% each level.
Level
Image
Name
Cost
Cool-down Reduction (%)
1
Mudball
-
0
2
Jelly Bear
5,000
4
3
Bling Bling
25,000
8
4
Fake Fish
100,000
12
5
E-Worm
250,000
16
6
Iourchin
781,250
20
7
Soft Pills
1.562M
24
8
Galactic Bug
3.125M
28
9
Abyssal Star
6.25M
32
10
Medusa Guts
1.953B
36
11
?
?
?
40
12
?
?
?
44
13
?
?
?
48
14
?
?
?
52
15
?
?
?
56
Taxidermist
These are minor 'achievements' that reward the player with Upgrade Points when claimed.
Formula for Catches Required:
Pearl (Fish Upgrades) Rewards:
Average pearls per catch falls from a maximum of to a minimum of as level increases, meaning that statistically, a higher rarity will always give more rewards per catch than a lower rarity regardless of its level.


")
")
")


![{\displaystyle [1,MaxRarity]}](https://services.fandom.com/mathoid-facade/v1/media/math/render/svg/44b5cd5910671d5859702b7ee481d4481c49e90e)
 and Pearls


